How to Turn Cheap Meat Into Gourmet Steak
Cooking can be an exciting journey, especially when it comes to transforming budget-friendly cuts of meat into dishes that taste like a gourmet steak dinner. I love discovering ways to elevate everyday ingredients, and I’ve gathered some of the best techniques to do just that.
Turning a simple piece of meat into something extraordinary is not only rewarding but can also save some money. Whether you’re looking to impress dinner guests or simply treat yourself, these tricks are your gateway to delicious steakhouse-quality meals. Let’s dive into some creative approaches that can help make each bite as enjoyable as possible.
Salt your steak 1 hour per inch of thickness
I found that salting steak can make it incredibly tender and flavorful. The rule of thumb is to let the steak sit with salt for about an hour per inch of thickness. This technique lets the salt work its magic on the meat.
I use coarse salt because it’s perfect for this job. It helps break down the proteins and draw out moisture. This not only tenderizes the steak but also enhances its natural flavors. Placing the steak on a small wire rack ensures even seasoning.
After the hour is up, I make sure to pat the steak dry. This is crucial for getting a nice crust during cooking. Plus, the aromas and taste are just so much better when it’s done this way. This simple trick transforms a regular steak into something special.
Use kosher or Maldon salt for seasoning
When I’m aiming to step up my steak game, choosing the right salt is a game-changer. Kosher salt is my go-to because of its large, flaky grains. These grains melt right into the meat, enhancing the flavor without overwhelming it.
Sometimes I like to switch things up with Maldon salt. Its delicate crystals give a unique texture. Plus, it’s perfect for adding a little crunch as a finishing touch before serving. Both options bring out the best in a steak without the harshness of regular table salt.
For the best results, I rub the salt onto the steak well before cooking. This simple step locks in flavor and makes any piece of meat taste like a gourmet delight!
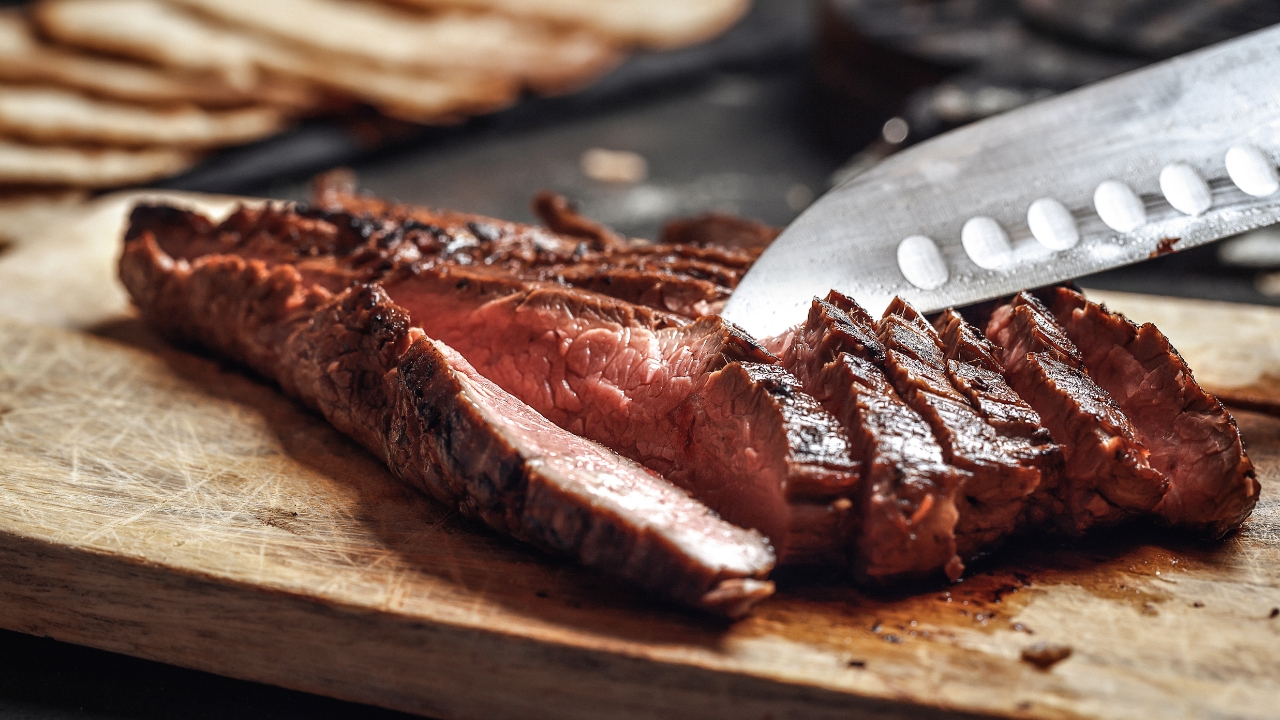
Slice Meat Against the Grain for Tenderness
When I’m slicing meat, especially cheap cuts, one trick I swear by is cutting against the grain. This simple technique transforms the texture of the meat, making it easier to chew and enjoy.
By slicing against the grain, I shorten the muscle fibers, which are responsible for the meat’s toughness. This makes even affordable cuts tender and appealing. You’ll find yourself cutting through the fibers rather than alongside them, which reduces the chewiness significantly.
To figure out the grain direction, I look at the muscle fibers running through the meat. Once I spot them, I make my cuts perpendicular to these lines. This tactic not only improves texture but enhances the overall dining experience as well. It’s a game-changer when preparing meals with cheaper meats.
Marinate with Acidic Ingredients Like Lemon Juice
When I want to transform affordable cuts of meat into something special, marinating with acidic ingredients is my go-to trick. Lemon juice, with its bright and zesty flavor, works wonders. It helps to tenderize the meat by breaking down proteins. This makes even tougher cuts feel much more gourmet.
Adding lemon juice also infuses the meat with a refreshing brightness that I love. If I’m out of lemons, lime juice is an easy swap and works just as well. Mixing lemon juice with other marinade ingredients like herbs or spices really enhances the flavor profile.
I always make sure to let the meat marinate for at least a few hours. This ensures that the acid has enough time to work its magic and make each bite succulent and full of flavor. For some inspiration, this recipe highlights how lemon juice can elevate your dish.
Try sous vide for perfect steak doneness
I’ve gotta say, using the sous vide method has completely changed how I cook steak. It’s a game-changer for getting just the right level of tenderness. By cooking the steak in a water bath at a precise temperature, I nail the doneness every time.
With sous vide, I don’t have to stress about overcooking or undercooking. The steak comes out juicy and evenly cooked from edge to edge. For anyone without tons of time, it’s pretty hands-off too.
If you’re curious, check out this easy sous vide steak guide. It’s all about maximum tenderness, which makes cheaper cuts taste luxurious. Whether I’m in the mood for medium rare or well done, sous vide makes it effortlessly consistent.
Rest your steak after cooking for juiciness
I always make sure to rest my steak after cooking. When I do this, it allows the juices to redistribute throughout the meat. This is super important because if I cut into it too soon, all those flavorful juices just run out onto the plate instead of staying in my steak.
I usually let my steak rest for about ten minutes. This might seem a bit long when I’m eager to dig in, but trust me, it’s worth it. By holding off, I find the meat stays tender and full of flavor. Plus, it’s a good time to finish prepping any sides or set the table.
I’ve read that letting the juices settle back can turn a decent steak into something special. For more on this, check out why resting matters.
Sear Steak on High Heat for Caramelization
When I cook steak, I make sure my pan is hot before starting. Searing on high heat creates that beautiful caramelized crust we all love. This method works because high heat triggers the Maillard reaction, which, trust me, brings out amazing flavors.
I always dry my steak thoroughly before it hits the pan. Removing moisture helps achieve that perfect sear, preventing any steaming. A little bit of cooking oil also helps with heat transfer.
I don’t overcrowd the pan. If there’s too much steak in the pan, it can lower the temperature. This means the steak won’t sear properly. I’ve learned that flipping the steak once is often enough for an even crust. Always let the steak cook for a few minutes on each side.
Use a meat mallet to tenderize tougher cuts
I always reach for a meat mallet when dealing with tougher cuts of steak. It’s a simple yet effective way to break down tough fibers, making the meat much more tender. Using the spiky side ensures I give the meat a good pounding. Just make sure to cover the steak with plastic wrap or parchment paper first to keep things tidy.
I find this especially useful for cuts like flank or skirt steak. They benefit greatly from a bit of pounding. This method not only tenderizes but also helps the steak soak up marinades more effectively.
Whether I’m preparing a last-minute dinner or planning ahead, using a meat mallet enhances the texture and flavor of my steak. I’ve found this technique incredibly handy, and it doesn’t require much extra effort. Overall, it’s a game-changer for improving cheap steak into something more refined.
Experiment with Dry Aging at Home
I’ve always been curious about trying dry aging in my kitchen. It sounds complicated, but once I got the hang of it, it became an exciting challenge. Labelling my fridge sections might have made me feel like an amateur butcher.
I wrap steaks in a few layers of paper towels to absorb moisture and let them rest on a rack in the fridge. Changing the towels every few days keeps things tidy. Patience is key, as the process can take a couple of weeks.
For a quicker alternative, I rub the steaks with koji rice, which can mimic the effects of dry aging in just 48 hours. This nifty shortcut gave me impressive results without the extended wait. If you’re up for it, experimenting with these methods can elevate a basic steak into something really special.
Butter baste for rich flavor
I love butter basting because it transforms a cheap steak into something special. As the butter melts in the pan, it combines with the juices from the steak, creating a rich, flavorful coating.
To make sure I get the best taste, I add a few aromatics like garlic or thyme. This enhances the butter’s natural richness and creates a savory, mouthwatering aroma.
When I flip the steak, I tilt the pan and use a spoon to pour the melted butter over the top. This technique ensures the flavors soak in, giving a gourmet touch to my meal.
Use Cast Iron for Best Sear
When I’m aiming to transform a cheap cut of meat into a gourmet steak, a cast iron skillet is my go-to tool. It’s just perfect for creating that ideal sear. The even heat distribution of cast iron helps develop a rich, flavorful crust that seals in the juices.
I avoid using too much oil by having a slick surface. This prevents sticking and allows the meat to brown beautifully. Plus, the high heat capability of cast iron means a fantastic sear without burning.
Searing with cast iron can sometimes produce a lot of smoke. So, I prefer to cook outside whenever possible. This way, I get that perfect crust without filling my kitchen with smoke, just like in this cast iron cooking discussion.
Finish with a Sprinkle of Flaky Sea Salt
I love finishing my steak with a sprinkle of flaky sea salt. It adds that perfect final touch. The light, delicate crystals dissolve beautifully, enhancing the flavor of a perfectly cooked piece of meat.
When I use flaky sea salt, it creates an irresistible texture. The tiny flavor explosions are a delight with each bite. It’s like a magic touch that elevates an ordinary dish into something special.
Flaky salts like SaltWorks Pacific Blue Flake are my go-to for adding the right pop of flavor. It’s all about the balance and the way it complements the steak’s natural flavor. Salting right before serving keeps everything fresh and vibrant. It’s a small trick, but it makes all the difference.